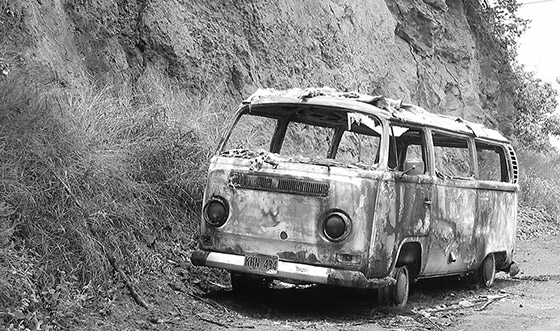
Q: How do I change a photo to black and white in Photoshop?
A: Read the tutorial below for a complete answer.
This mini-tutorial assumes you will be using Adobe Photoshop®. Don’t worry too much about the version of Photoshop you have as the procedures are similar. A little plucking here and there should get you going. You might notice that apart from the Hue/Saturation method, which wasn’t fully desaturated, most of the photos look very similar.
The changes are very subtle, but when you are working with professional photos you want that kind of control. Subtle changes can make a big difference. Note: Some older versions might not have some of these features.
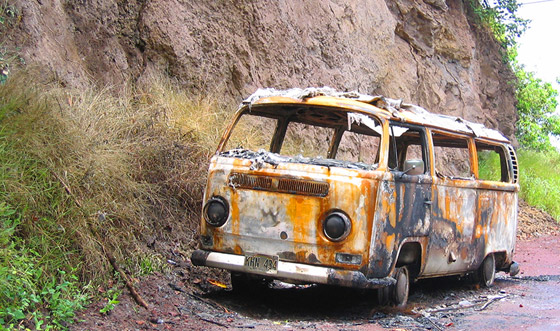
There are various ways to change a color photo to black and white. Let’s start with the most obvious and simple one:
1. Change photo to grayscale method
For this method, simply open your color photo in Photoshop and go up to the menu and select, Menu>Image>Mode>Grayscale. Photoshop will ask you if you want to discard color information. Click Discard and you’re done. Below is a photo of the menu path and the final effect result.

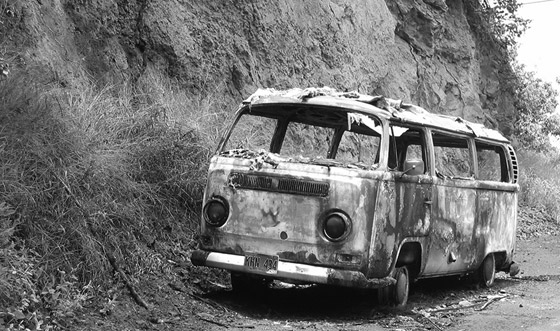
2. Hue and Saturation method
This next method is a little bit more involved but will allow you to keep some of the color if you’d like. First, open your photo, then follow this menu path: Menu>Image>Adjustments>Hue/Saturation. When the adjustment window opens simply slide the center “Saturation” slider left. The more you go left the less color. All the way left will render a full black and white image. The beauty of this method is you get to keep the photo as RGB or CMYK, not grayscale.


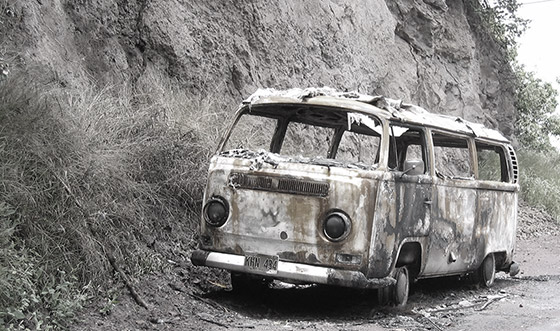
3. Black and White method
This method also allows you to keep the photo in the current color mode even while changing to black and white. It allows even more control over your final black and white photo’s look. In the menu, follow this path: Menu>Image>Adjustments>Black and White… A Black and White control adjustments box will appear. The photo will instantly turn black and white when this window opens, but here you can adjust how the final result looks. The easiest and quickest way is to select one of the presets off the presets menu at the top of the box. I used the “Infrared” preset. Find something you like, customize it further if you want and then commit the changes. That’s it. (Note: Some older versions of Photoshop do not have this Black and White adjustments feature.

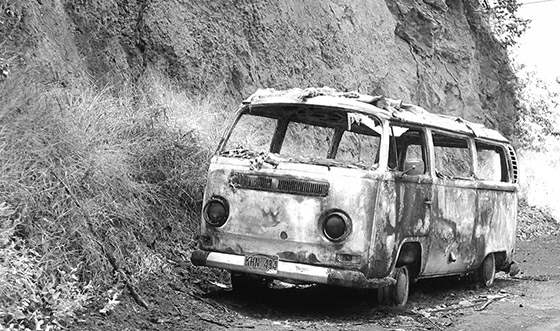
4. Channel Mixer method
This method is my personal favorite but it involves the most amount of work. However, the control is much more than with the other methods. With your photo open, go to the channels pallete. If it isn’t open, open it by going to Menu>Window>Channels.
This method works in both RGB and CYMK but I prefer to do it in RGB. So change your color mode to RGB if it already isn’t. Menu>Image>Mode>RGB. In the channels palette click on each of the channel colors individually (red, green, and blue) and look at the results in the photo. Decide which of the 3 channels yields the most detailed image. Then reselect “RGB” at the top of the pallete so the image shows in color again.
Now to do the actual conversion. Go to Menu>Adjustments>Channel Mixer… and an adjustments box opens. In the adjustment box select the output channel that corresponds to the channel color you chose as the best looking one. For example, Blue. You’ll see the blue slider move all the way to +100%. Then tick the “monochrome” box at the bottom. You’re image will now look officially Black and White, however, you may want to move the color channel sliders every so slightly until you get a mixture that you really like. I avoid the “constant” slider, but if you do use it, move it very little. It tends to screw up the saturation and make the image too light or too dark. Once you are happy with the results, click OK and you’re done. You may notice the image is still RGB, not grayscale. If you screw up a setting while you are making adjustments, I find the easiest way to deal with the problem is to cancel the changes and close the control window. I then reopen it again to start over. You may find a different way of dealing with this but this works for me.

